Before any maintenance operation, deactivate the appliance and disconnect the mains plug from the socket.
Always take care when moving appliances, for heavy appliances it's necessary two persons to move it.
Always use safety gloves and enclosed footwear.
Please note that self-repair or nonprofessional repair can have safety consequences if not done properly
HOW TO DISASSEMBLE AND ASSEMBLE DOOR HINGE
1. Cover
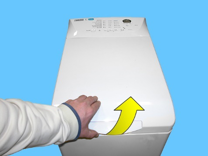
Lift up the handle to raise the cover.
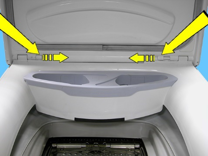
Remove the two hinge pins towards the inside.
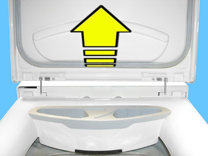
Lift up the cover and remove.
When reassembling, repeat these steps in the reverse order.

Before intervening on the equipment place a protection above the drum in order to prevent small parts falling inside the tub.
2. Control panel
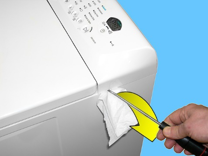
Insert a screwdriver into the side slots as indicated in the figure, first on one side and then on the other, always taking care to insert a protection between the cabinet and the screwdriver to avoid scratching the paint.
Lever downwards to widen the control panel slightly and unfasten the clips fixing it in place.
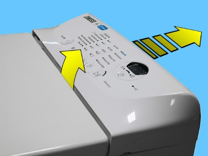
Lift the front part of the control panel slightly.
Move it towards the back.
2.1 Assembly
Introduce the runner pivots (1) located on the control panel into the rails (2) found on the sides of the washing machine.
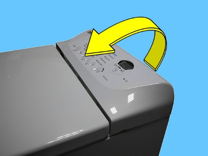
Rotate it forwards.
Press the control panel forwards until it is completely hooked on.
Open the upper cutting ring.
Disconnect the bellow seal from the upper side

2.2. Bellow seal
Remove the left and right side panels (see relevant chapter).
Remove the wiring from the various supports (indicated by the arrows).
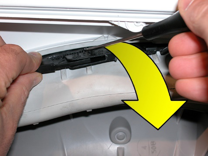
Using a screwdriver, open the clamp, taking care not to perforate the bellow seal or break the locking ring.
Remove the bellow taking care not to ruin the 2 bases.
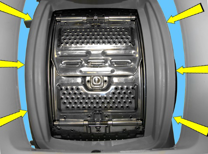
When reassembling.
Lubricate the whole of the inlet seat into which the bellow seal is to be inserted.
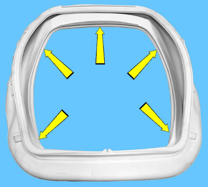
Lubricate the bellow seal seat to be inserted into the inlet.
(The bottom part is not indicated by the arrows because it is hidden.)
After lubricating the two seats, the inlet seat and the bellow seal seat.
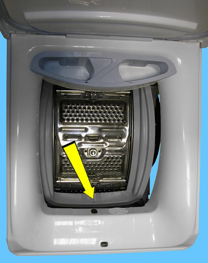
Find the position of the reference symbol on the edge of the inlet.
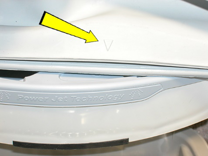
The position of the reference symbol on the bellow seal.
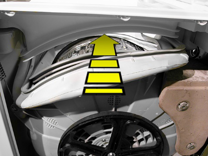
Insert the seal between the inlet and the welded tub.
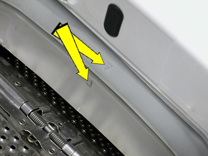
Position the two references so that they correspond.
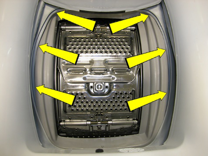
And insert the bellow seal into the loading inlet seat.
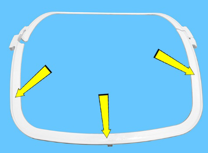
Lubricate the part of the locking ring that is to be inserted into the bellow seal
seat, to fix it tightly to the welded tub.
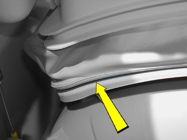
Lubricate the bellow seal seat indicated by the arrow.
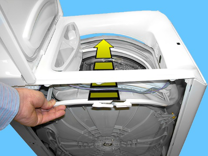
Insert the locking ring between the bellow seal and the inlet.
Check that the bellow is inserted precisely and that the reference notches are positioned properly.
From both sides.
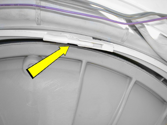
Check that the locking ring is inserted perfectly in its seat around the whole perimeter.
Join the two ends of the locking ring.
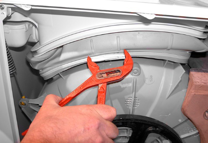
Tighten with a pipe wrench (be careful not to break the ring).
Repeat the operations carried out with this locking ring with the locking ring fixing the bellow seal to the inlet.
2.3 Side panels
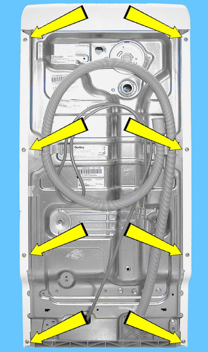
By removing the side panels you can access all various parts of the washing machine.
Unfasten the screws that fix the right or left side panel (appliance viewed from the front) to the back panel.
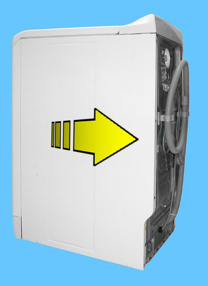
Move it towards the back of the washing machine
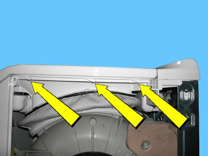
so as to allow its removal from the upper guides, marked by the arrows in the drawing.
2.4 Electronic pressure switch
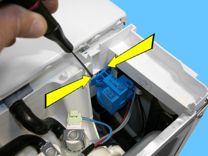
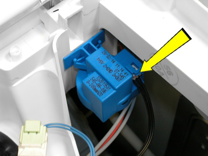
Remove the control panel (see relevant paragraph).
Slide off the connector.
Press the tabs which secure it to the cabinet and remove it.
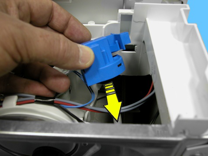
Pull out the small tube which connects it to the pressure chamber.
When reassembling, repeat these steps in the reverse order.

When replacing anything, please refer to the code shown in the list of spare parts relating to the appliance being repaired.
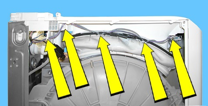
Remove the door lock wiring from the cable glands indicated by the arrows.
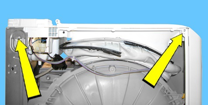
Open the locking ring that fixes the bellow seal to the inlet and remove it from its seat.
Unfasten the two screws fixing the inlet to the rear panel and to the front panel.
Left side
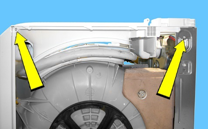
Unfasten the two screws fixing the inlet to the rear panel and to the front panel.
Right side
Remove the connectors from the solenoid valves (1).
Remove the wiring stop (2).
Unfasten the two screws fixing the support to the back panel (3).

To facilitate operations on the inlet, position a support under the motor.
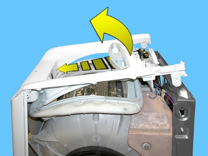
Push the inlet forwards to extract the solenoid valve support from the back panel, and lift it up slightly.
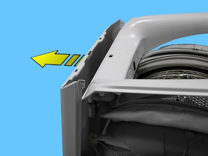
Remove the inlet from the front panel.
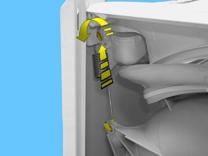
Unhook the right and left front springs from the inlet.
Remove the wiring connector from the door delay system.
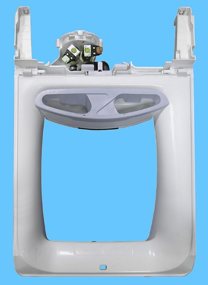
Inlet with solenoid valves.
When reassembling, repeat these steps in the reverse order.
2.5 Water dispenser
Remove the control panel (see relevant paragraph).
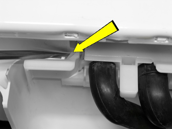
Using a screwdriver, push the tab fastening the water dispenser
on one side,
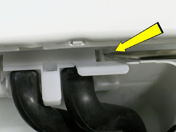
then on the other.
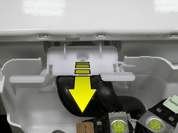
Remove the water dispenser.
